 Topper's
Place
Topper's
Place

|
|
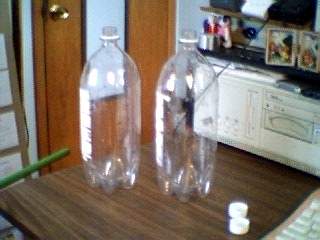
Click here to go to this page at new linkPop Bottle Pots...I've never been a rich person and mostly work too many hours. So I've had to learn to do things on a tight budget for both time and money. I have done a lot of do-it-yourself projects. I've been making and using pop bottle pots for years... They aren't in any way fancy, but they are cheap and fairly easy to make, and best of all, the plants love 'em! Believe it or not I even used them to line my front porch and planted Sweet 100 Cherry Tomatoes in them. By keeping the water reservoir filled with a very mild dilution of Miracle Grow and keeping the plants pruned I had a wall of cherry tomato plants just outside my front door, ready to pick snacks and the plants made a cool looking tall and slender 'hedge' giving me more privacy.
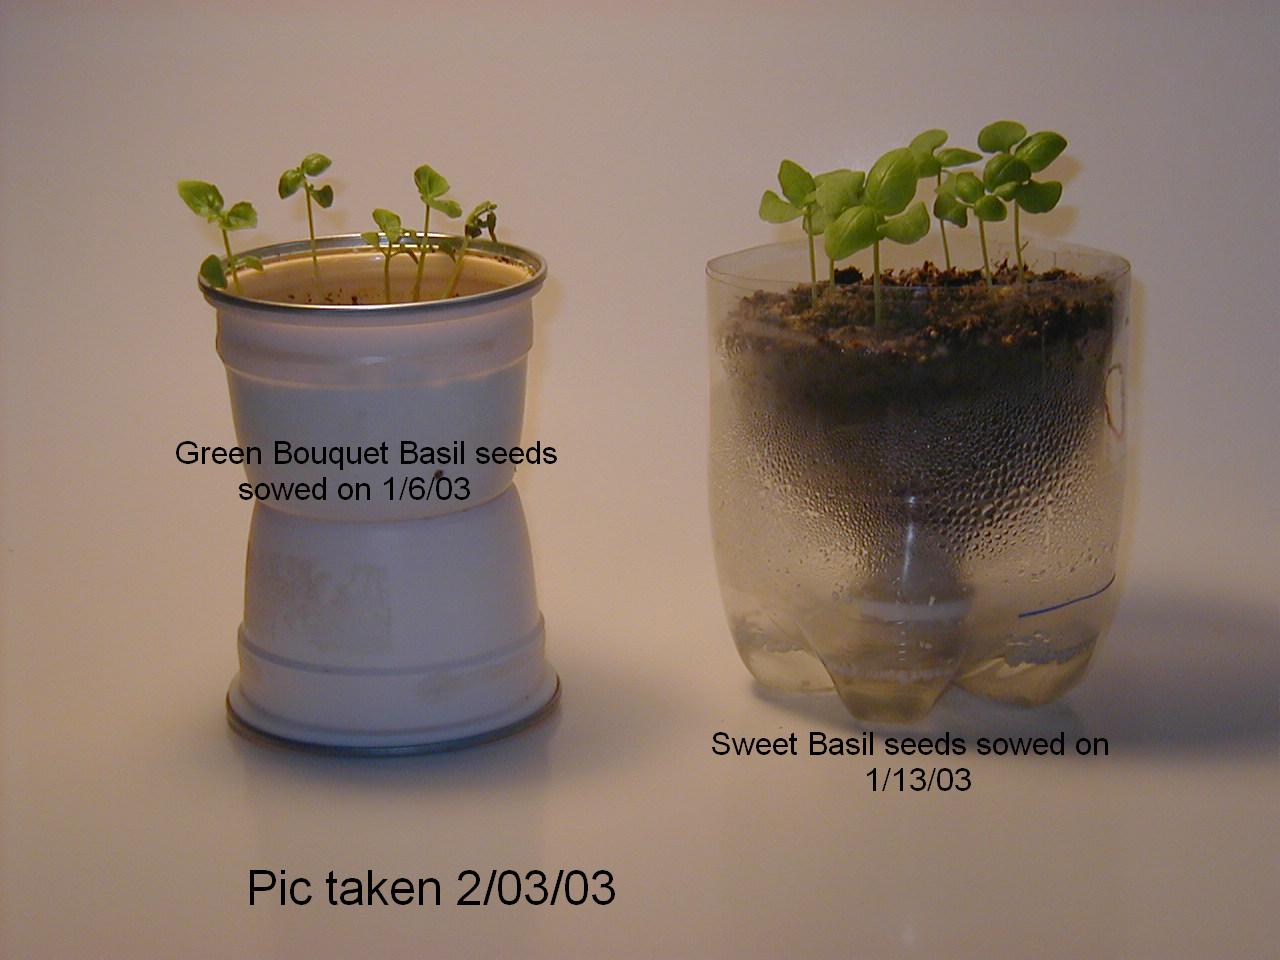
Using Pop Bottle Pots as seed starters...
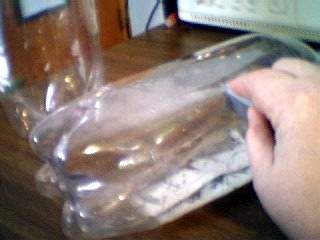
Here are some pics taken and sent in by visitor that tried out my bottle pot idea to make a seed starter. As you can see by the pics (click on them to enlarge and see the dates) the results were quite impressive. In the last picture he's transplanted them into a taller bottle pot. The roots were so well developed and intertwined he gave up on trying to separate them. Thanks for sharing your results Chuck!.
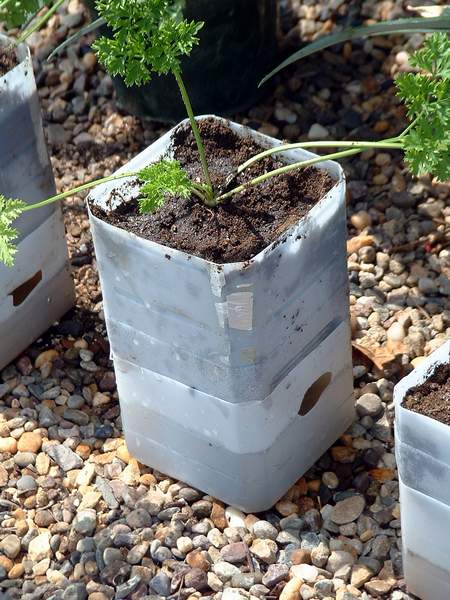
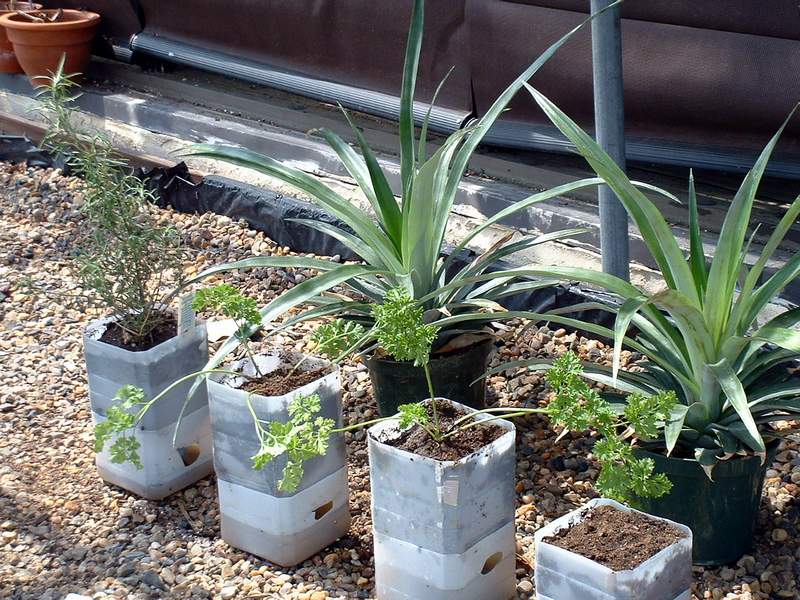
Here we have a
couple of pics that Rachel from OHG sent to share. She used the Pop Bottle Pot
theory to recycle some of her Iced Tea containers and made some great self
watering pots for her herbs! I really like the square shape, very good use of
space, and white is wonderful for reflecting light and heat in a greenhouse
environment..
Ready to make your own Pop Bottle Pot?
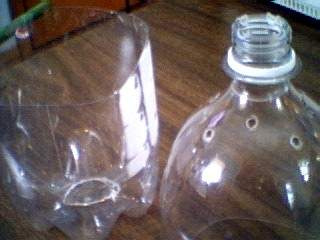
First we'll cut the bottle...
Put the bottle on your table, and measure up about 5 inches. cut the bottle all the way around. Using your knife or blade. Be VERY careful not to cut yourself.
Take your time with this. You're gonna goof a few times but once you get the knack I bet you may just be making a lot of these...
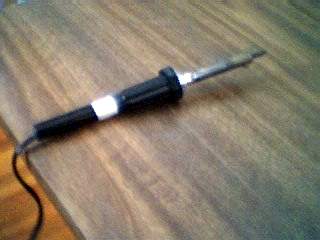
Now we'll do filler and drain holes...
Plug in your soldering iron, setting it someplace where nothing will be melted or burned, and take the time it's heating to look at the bottom of your new pot.
A self-watering plant
pot and a great way to recycle pop bottles!
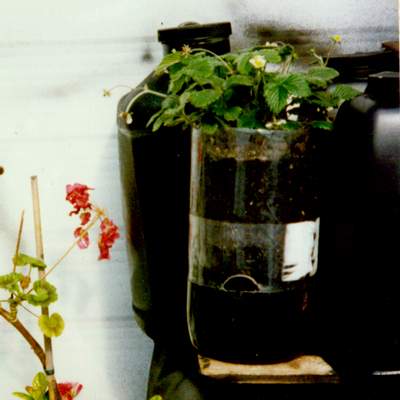
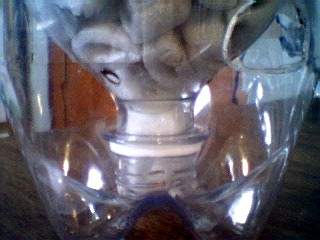
Put Your New Self-Watering Pot to Work... Now take a hand full of soil and drop it into the pot... using a finger push the soil into the neck of the bottle.. to firm it and get rid of any air pockets.. this slightly packed soil will be the 'wick' that will draw water from the reservoir to the plant. Now fill the rest of the bottle with soil and plant your plant - or place your seeds. Carefully added room temp water from the top (soil surface) allow the water to work it's way through the soil and start draining out the bottom into the reservoir. Do this slowly so as not to overflow at the top or at the bottom. What you are doing here is making sure that the soil is thoroughly saturated and that the soil has settle around the plant roots or seeds. After this you'll only need to fill water into the reservoir as you see that it is nearing empty. If the reservoir should ever empty completely and the soil dry too much the wicking action will stop. You'll notice that the plant isn't drawing water from the bottom... Just empty the bottom and water from the top until the water starts running out the bottom again.. This, again, thoroughly saturates the soil and allows the wicking action to start again. Remember VERY dry soil as a hard time absorbing water.. that is why it stops 'wicking' if it becomes too dry. If you'd like a taller bottle pot.. use two bottles. Use one bottle to make the bottom and use a second bottle that you only just cut the very bottom end off of.. it will allow you to have a taller bottle pot that you could plant larger plants in OR a fun thing that I like to do is burn extra holes around the outside of the pot and plant additional plants in the sides of the pot.. Think Strawberry Planter here. If you use something like Wax Begonias, Impatiens or any one of a variety of bushy short type flowering and house plants.. you end up with a 'ball' of plant that you just water by way of that little filler hole.
|
Remember, Topper's Place is moving, feel free to add the new link to your Favorites: www.toppers-place.comEmail:
Topper (Linda)
|